
Use a 5mm Allen wrench and loosen the bolt holding the cable on the front derailleur. Push the old cable out and then thread the new cable through the shifter, through the stays and down into the derailleur It is recommended that if you are going through the effort to replace the cable you should replace the housing at the same time. Use good a cable cutter to ensure a clean cut of the housing, essential for optimal shifting.
Before putting the cable in, adjust the low setting on the derailleur: With no cable, shift the chain to the biggest cog and put the chain on the little chainring. The chain should have approximately 1mm clearance between the chain and the inside plate of the derailleur.
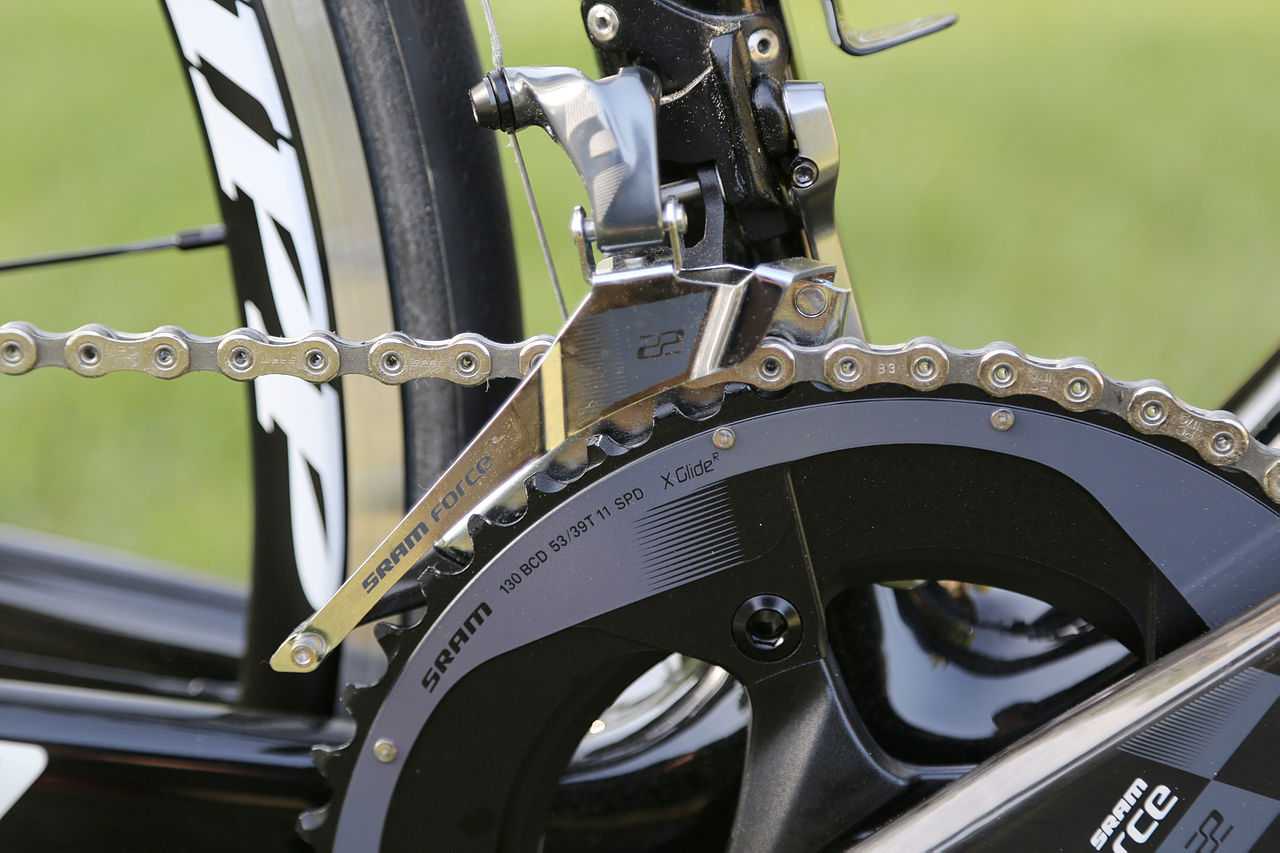
Back out the inside screw on top of the derailleur to move the unit inward, towards the bottom bracket. Once the 1mm is set, put the cable through the derailleur arm. Make sure the adjustment at the shifter is most of the way screwed into the shifter. Tighten down the holding screw on the derailleur arm. Shift the shifter into the middle chainring position. You eventually want the same 1mm between the chain and inner plate.
Back the adjustment screw out to increase cable tension and move plate outwards. You may have to reset the cable on the derailleur arm if more adjustment is needed. Next, shift to the big ring and shift to the smallest cog in back. You should have 1mm of clearance between the chain and the outside plate now.
Adjust the outer screw on the top of the derailleur to get this. Back the screw out to move it towards the outside.
Tighten the bolt holding the cable and go for a ride.